Setting up a PS2

Here is the original PlayStation 2 (PS2). This version was released November 24th, 2000. This model is one of the first models of PS2 released in the UK and included DVD playback and an expansion bay for hard-drives. There was a slim version of the PS2 released in 2004 (which you can see in the background) which greatly reduced the size of the console without removing many features.

Here is my Logick Full-HD LCD/LED TV that supports up to 1080p HD.

This is the PS2’s power cable. It is the same as the PlayStation 3’s as both consoles have their Power Supply Units (PSU’s) built inside the console. With the PS2 slim they moved the PSU to outside the console to help keep the size down.

Here is the power supply port on the back of the PS2. The button above the port turns the console on (the line) and off (the circle) and should be set to off when plugging the power cable in but I left it on before plugging it in, oops.

These are the display ports on the back of my TV. The row on the bottom are the composite ports, yellow is the video, red and white are the left and right audio. The row on the top is the video ports for the component video which are green, blue and red. The component cable also uses the red and white audio ports from the composite ports as my TV uses those ports for both component and composite channels.

Here I am plugging in a component cable into the video out port on my PS2. Both the component and composite cables use the same port and adapter for connecting to the PS2.

Here I am plugging the component cables into the TV. Using component cables the PS2 can display up to 480p, meaning this cable provides the best quality for the PS2 although there are not many games that support 480p which is referred to as "progressive scan" in games, this is what the "p" in 480p means. Progressive video output displays the whole image at the same time whereas interlaced (which is what the "i" in 576i means) splits the image and displays all the odd lines in one frame and then all the even lines in the next constantly. With games that can’t support 480p, they display at 576i, the same as it is with composite (although I think it still looks more crisp with component). Component cables can support up to 1080p although not as well as a HDMI cable as component is analogue (YPbPr, green carries Y, blue carries Pb and red carries Pr) whereas HDMI is digital (sends information through 1’s and 0’s) although the PS2 doesn’t use HDMI as HDMI wasn't designed until 2 years after the PS2 was released.

Here is the PS2 controller. Following from the PS1 using dualshock, the PS2 came with dualshock by default. This controller has rumble and analogue sticks which you could turn on or off although games stopped supporting that towards the end of its cycle. You have to plug this controller into one of the ports on the front of the console as it is wired although Sony did release some wireless controllers.

Here (in this very blurry picture) I’m plugging the PS2 controller into the controller port under the memory card port. Just underneath you can just see the blue square, this is where the PS2 had 2 USB ports for other peripherals. This console allowed you to plug two controllers in for multiplayer although you could purchase a multitap which allows for up to 4 players to play at once.

Here I am turning the console on.

With the PS2, if you had a disc in the tray you had to open the tray to boot to the menu, you couldn't just quit out the game to it back then.

This is the menu that the console boots to. I’ll show you browser later, what we want here is System Configuration.

In system configuration, we want to make sure the component video out is set to Y Cb/Pb Cr/Pr as my component cable doesn't output in RGB. If the console doesn't display when plugged in with the component, you have to plug in the composite cables and then set the component video out to Y Cb/Pb Cr/Pr and then plug the component cables back in.

I now want to see if a game works so here I am putting Shin Megami Tensei: Nocturne (Although it’s called Lucifer’s Call over here) onto the disc tray.

And then I press the close button to close the disc tray.
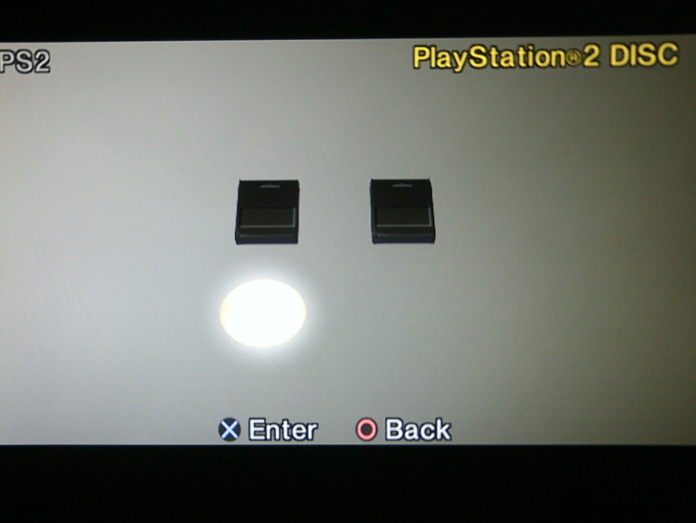
If left on the main, browser and system configuration screen the console will boot straight into the game. This is the browser menu and through here you can access your memory cards and boot up the game if you were messing around with the settings. Here we choose the PlayStation 2 DISC option.

And there we go!
